

This walkthrough gets you from zero to your first merged fix using AWS Transform Continuous Modernization — connecting a GitHub repo, kicking off a scan, and reviewing the remediation it generates. AWS introduced this capability in the August 10, 2026 Weekly Roundup, and since it’s a very recent announcement, treat the exact console screens and field names below as realistic and representative of the workflow rather than a pixel-perfect transcript — the underlying steps (connect, configure, scan, review, merge) are the durable part.
Prerequisites
- An AWS account with permissions to create IAM roles and access AWS Transform
- A GitHub account with admin access to at least one repository you’re comfortable running an automated scan against (use a low-stakes repo for your first pass)
- A GitHub personal access token or, preferably, the GitHub App installation flow if AWS Transform offers one for your account, since scoped app permissions beat broad PATs
- Branch protection already enabled on your target branch — you want a human gate in place before you connect anything that opens PRs automatically
- A working CI pipeline (even a basic test-and-lint job) so generated remediation has something to run against
What you’ll build
By the end of this tutorial you’ll have a repository actively monitored for technical debt, a completed first scan, and one merged remediation pull request that AWS Transform Continuous Modernization generated on your behalf.
Step-by-step walkthrough
- Open AWS Transform in the console and navigate to the Continuous Modernization section. If this is your first time in the service, you’ll be prompted to set up a service-linked IAM role — accept the default trust policy scoped to AWS Transform.
-
Connect your GitHub account. Choose the GitHub integration option and complete the OAuth handoff. You’ll land back in the console with a list of repositories you can grant access to. Select only the specific repo you’re piloting — resist the urge to grant org-wide access on day one.
# Example: repo-scoped permissions you should be granting, # not org-wide admin, when the GitHub App install screen appears Repository permissions: Contents: Read & write Pull requests: Read & write Metadata: Read-only Checks: Read-only -
Register the repository for scanning. Confirm the default branch (usually
main) and the language/runtime stack detected. AWS Transform uses this to decide which patterns — dependency manifests, deprecated API signatures, runtime version markers — are relevant to your codebase. -
Configure your scan cadence. For a first pilot, a daily scan is a reasonable default — frequent enough to catch drift, infrequent enough that you’re not drowning in PRs during your evaluation week.
# Illustrative scan configuration scan_cadence: daily scan_scope: - dependency_manifests - deprecated_api_usage - runtime_breaking_changes remediation_mode: propose_pr # never "auto_merge" on a first pilot max_open_remediation_prs: 3 # cap noise while you build trust in the signal -
Set remediation PR labeling and required reviewers. Configure generated PRs to carry a distinct label (e.g.
aws-transform-generated) so your existing branch protection rules can require an explicit human approval before merge — see GitHub’s own docs on protected branches for how to wire that requirement in. -
Kick off your first scan manually instead of waiting for the scheduled cadence, so you can see results immediately.
\# If a CLI/API path is available, triggering a manual scan # looks conceptually like: aws transform start-continuous-scan \ --repository-id "your-org/your-repo" \ --scan-profile "default" - Review the scan findings. Once complete, the console (or your notification channel of choice) surfaces a list of identified technical debt items — outdated dependencies, deprecated calls, and so on — each with a severity indicator and a note on whether a remediation has been generated.
- Open your first generated remediation PR in GitHub. Read the diff top to bottom. Check the PR description for what pattern it’s addressing and why. Confirm the scope is tight — one dependency bump or one deprecated API swap, not a grab bag of unrelated changes.
-
Let CI run against the remediation branch. Your existing test suite should execute automatically on the PR exactly as it would for any human-authored change.
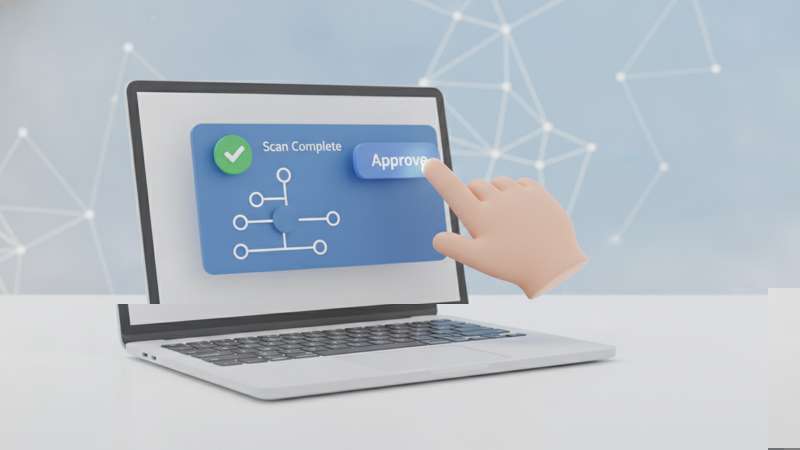
# .github/workflows/ci.yml (existing pipeline, unchanged) on: pull_request: branches: [main] jobs: test: runs-on: ubuntu-latest steps: - uses: actions/checkout@v4 - run: npm ci - run: npm test - Approve and merge once CI is green and you’ve personally verified the change. Merge it the same way you’d merge any other reviewed PR — squash, standard commit message, whatever your team already does.
Confirming it worked
After merging, go back into the Continuous Modernization dashboard and confirm the finding tied to that remediation is marked resolved, and that the next scheduled scan no longer flags it. That closes the loop: found, proposed, reviewed, merged, verified.
What you built
You now have a repository connected to AWS Transform, an active scan cadence running against real code, branch protection enforcing human review on every generated PR, and one merged remediation to prove the pipeline end to end. From here, widen the scope gradually — add more repos, tighten or loosen the scan cadence based on how much signal you’re getting, and consider running Amazon CodeGuru alongside it for review-time code quality checks that complement the ongoing debt scanning you just set up. You’ve turned “we should really clean this up sometime” into a process that runs whether or not anyone remembers to schedule it.
At Enkompass (enkompass.net), this is our home turf. We design AWS architectures that survive contact with production — and the 3 AM page that comes with it. If you’d rather have seasoned cloud people handle it instead of learning the hard way at 2 AM, let’s talk. Reach out through our contact page or call us directly at +1-828-436-5667 — we’ll help you turn this from a someday-project into a done-deal.